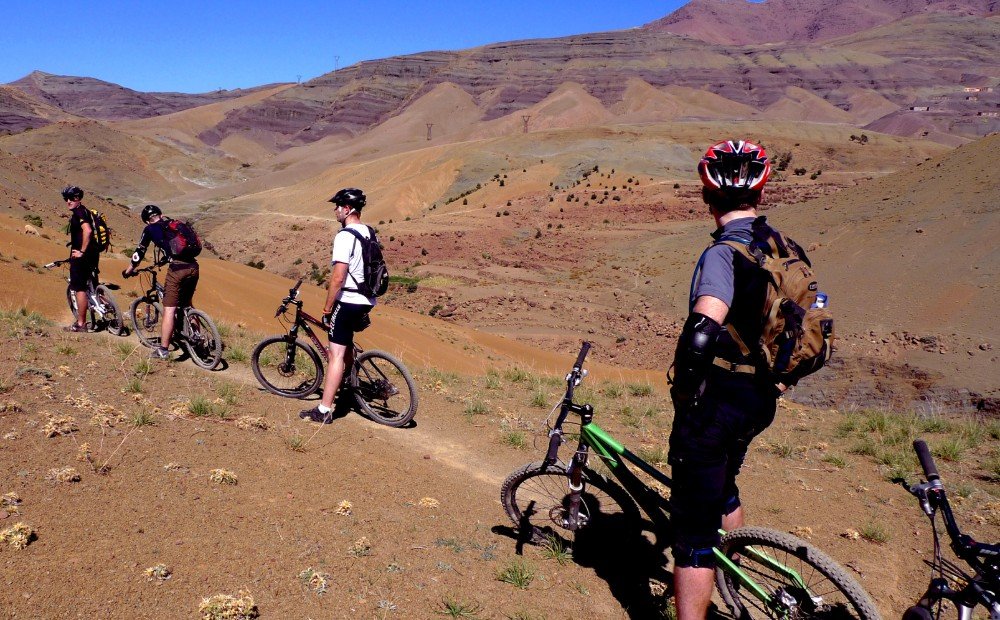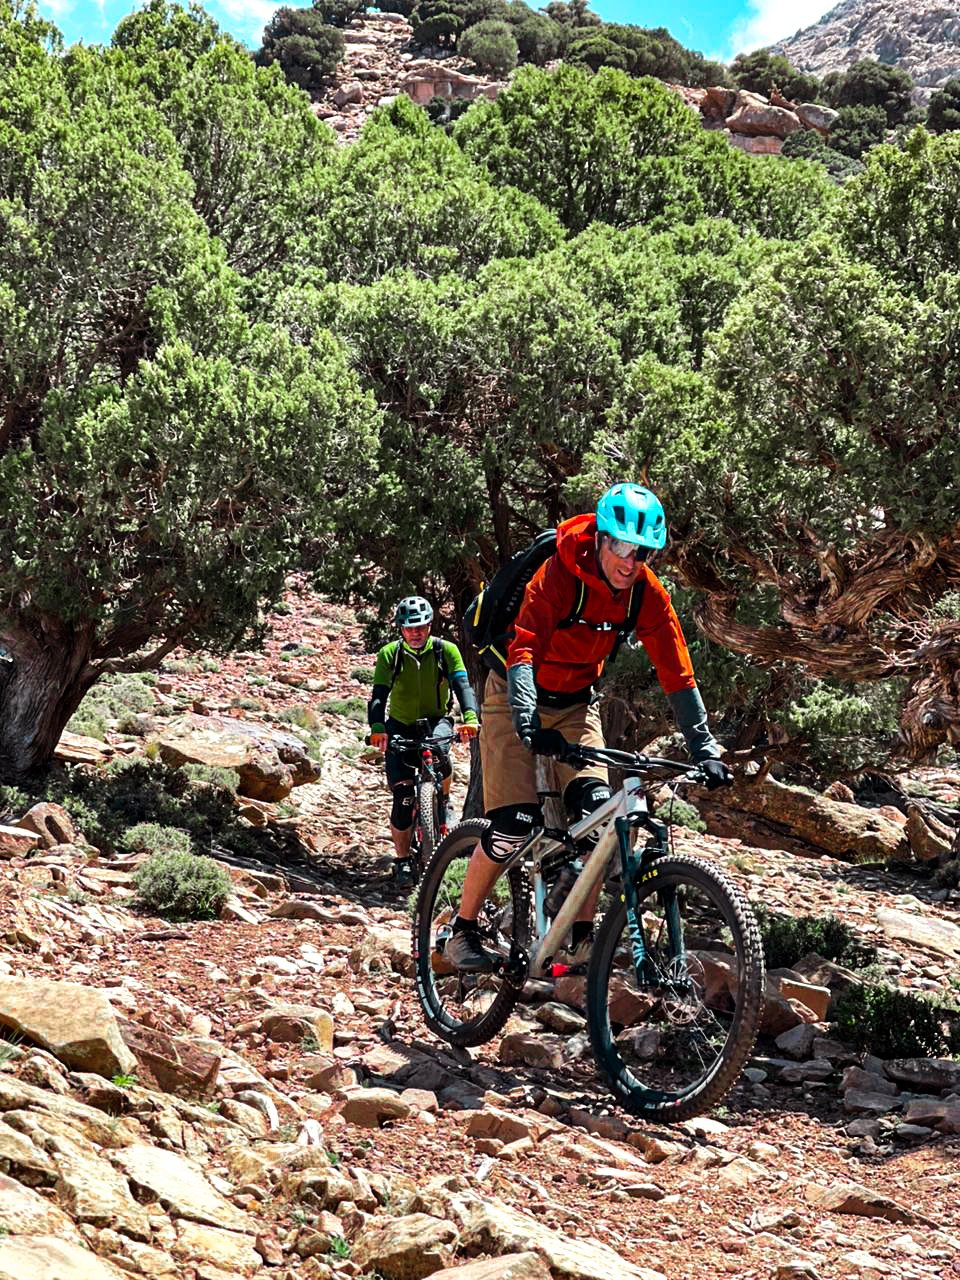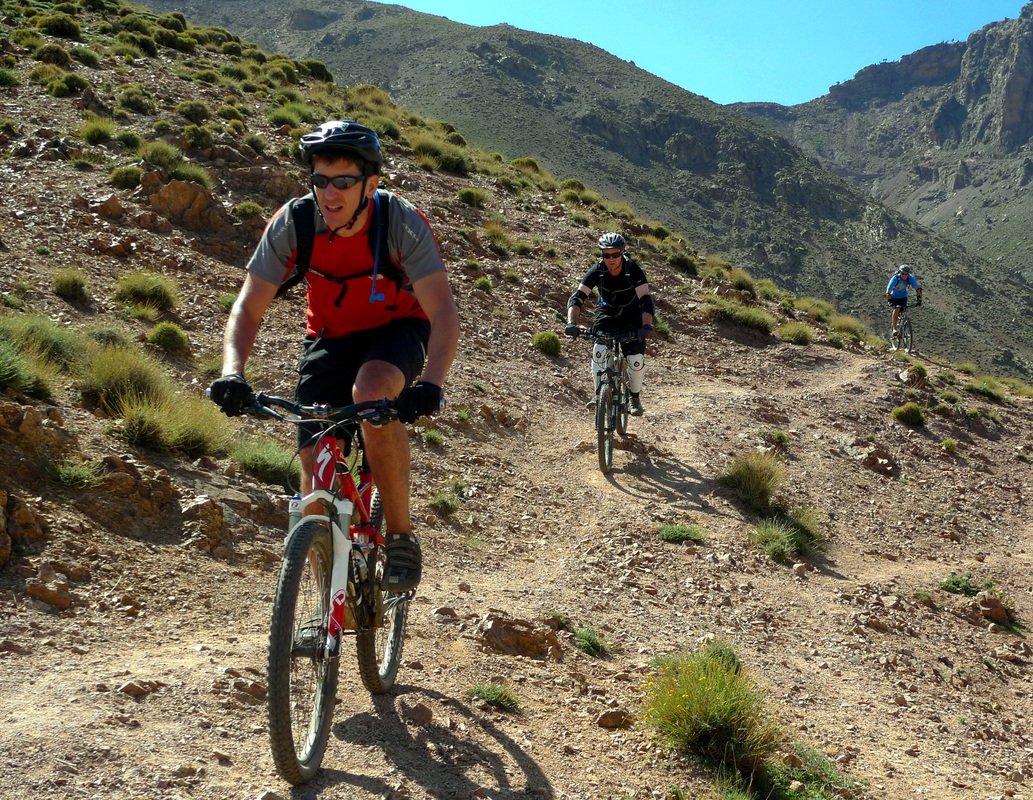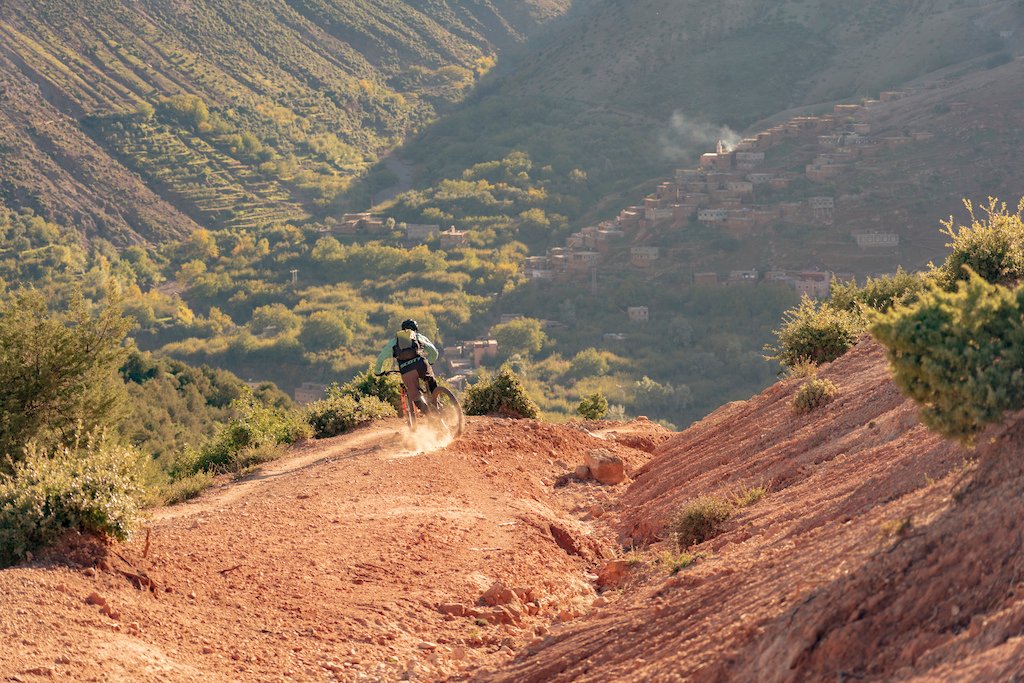
Technical High Atlas routes may include loose stones, embedded rock, tight turns, steep gradients, narrow traverses and variable grip. One route can change character several times in a day. Understanding those features—and being honest about your confidence on them—helps you enjoy the riding without turning every section into a test.
What makes a High Atlas trail technical?
Trail difficulty is shaped by more than distance or elevation gain. A short section can be challenging when the surface is loose, the trail narrows, the gradient steepens or there is little room to correct a mistake. A longer ride on a wider, predictable track can feel much easier even when the overall distance is greater.
In the High Atlas, riders may encounter stones that move under the tyres, rock steps, ruts, sharp turns, uneven natural surfaces and transitions between compact dirt and loose gravel. Weather and recent use can alter grip. A line that felt straightforward when dry may need more care after rain or when loose material has shifted.
Before committing to a ride, ask for a description of the hardest sections rather than relying on a single label such as easy, moderate or difficult. Useful details include how long the technical stretches last, whether they are exposed, how steep they are, and whether riders can stop safely to look at a feature.
Ask the guide to explain the terrain in plain language: loose rock, narrow traverses, steep steps and likely hike-a-bike sections are more useful clues than a grade alone.
Reading the surface and choosing a line
Line choice begins before the obstacle. Look ahead, identify the clearest route through the feature and notice where the trail opens up again. Keep your speed low enough to make a controlled decision, and avoid staring only at the rock or rut directly in front of your wheel. Looking towards the space you want to travel helps your body and bike follow the chosen direction.
Loose stones can move under braking or cornering forces, so abrupt inputs are more likely to unsettle the bike. Where possible, make speed adjustments before the turn, keep movements smooth and leave room to change your plan. If the line is unclear, stop at a safe place and inspect it from beside the trail.
Not every obstacle has one correct line for every rider. Tyre choice, bike setup, confidence, fatigue and conditions affect what feels manageable. A guide can point out common options, but you should choose a line that matches your ability and walk a section when you cannot see a safe way through it.
Braking, balance and looking ahead
On technical terrain, control usually comes from combining several small habits instead of making one dramatic movement. Keep your hands relaxed, look farther along the trail than the front wheel, and stay balanced so the bike can move beneath you. Your exact body position changes with the gradient and obstacle, so practise fundamental skills on terrain where you can stop easily and repeat a feature without pressure.
Brake progressively
Use controlled, progressive braking and try to manage speed before entering a corner or steep section. Sudden braking while turning on loose ground can reduce grip. The amount of braking available depends on the surface and conditions, so leave more margin when the trail is unfamiliar or dusty, wet or especially rocky.
Keep the ride within your comfort zone
A technical trail is not a place to follow another rider blindly. Leave enough space to see the surface and react, and regroup where the trail widens. If you feel tense or rushed, stop at a safe place, breathe and review the next section. Confidence grows through repeated, manageable practice rather than pressure to keep up.
Technical climbs and long descents
Technical climbs require pacing and traction as well as fitness. Loose surfaces and uneven steps can interrupt momentum, while short steep sections can demand a good choice of gear and a steady effort. If you lose traction repeatedly, dismounting and walking a short stretch can be more efficient than forcing an unsafe attempt.
Descents bring a different set of demands. Speed can build quickly on an open section and then meet a tight bend, loose patch or rock step. Stay attentive even when the trail looks familiar, and do not assume the person in front has cleared every feature. Give yourself room to slow down and make decisions rather than treating the descent as a race.
Fatigue can affect judgement late in the day. Food, water, breaks and a realistic daily schedule support good decisions as much as technical practice does. Ask how the route is organised, where the group will regroup, and what support is available if someone becomes tired or has a mechanical issue.
Bike setup, equipment and trail-side repairs
A correctly fitted, well-maintained bike helps you focus on the trail. Before travelling, confirm which bike type is appropriate for the route, the available frame sizes and the condition of the equipment supplied. If bringing your own bike, check that brakes, tyres, drivetrain and suspension are serviced before departure, and make sure you are comfortable with the bike's controls.
- Tyres and grip: ask about suitable tyre condition and pressure for the planned surface, and inspect for cuts or damage before riding.
- Brakes: check lever feel and stopping power before the ride, especially before a long descent.
- Helmet and eye protection: use a properly fitted helmet and protect your eyes from dust, wind and small debris.
- Basic repair needs: confirm which tools, tubes or tubeless repair supplies, pump and spares you should carry and what the support team provides.
- Personal essentials: carry water, snacks, sun protection and an extra layer suited to the elevation and forecast.
The support arrangement varies by trip. Ask whether a guide carries repair tools, whether a support vehicle can access the route, and how the group will manage a mechanical problem on remote terrain. Do not assume that every trail section is accessible to a vehicle or that all replacement parts will be available immediately.
Prepare your skills and fitness before the trip
Preparation does not require access to identical mountain terrain. Build a reliable base with regular rides, comfortable climbing efforts and enough endurance to stay focused throughout the planned day. For multi-day trips, practise riding on consecutive days so you can understand how your body responds to repeated effort and recovery time.
Work on core handling skills on safe, familiar ground: controlled braking, steady cornering, looking through a turn, riding over small bumps and stopping smoothly. Increase difficulty gradually and avoid attempting features that exceed your skill just because they appear in a video or guide. If you are new to technical riding, a skills session with a qualified instructor can help identify what to practise.
Share your honest experience with the tour organiser. Explain the terrain you usually ride, the length of ride you are comfortable with, your climbing experience and which features make you nervous. That information helps when discussing an appropriate itinerary and makes expectations clearer for everyone in the group.
How to choose a technical route that suits you
Before you confirm a route, use these questions to compare options:
- What is the hardest feature? Ask about the steepest, narrowest or loosest sections, not just the overall grade.
- How much climbing is involved? Consider elevation gain, altitude, surface and the number of days riding in a row.
- Can the itinerary be adapted? Confirm whether there are alternative tracks or opportunities to walk difficult sections.
- What support is included? Clarify guiding, transfers, luggage handling, mechanical help and emergency communication arrangements.
- What are the likely conditions? Check seasonal temperatures, forecast, trail condition and any route access considerations close to departure.
- Does it suit the whole group? Plan for the least experienced rider rather than assuming everyone has the same skills and pace.
A well-chosen route should offer a meaningful challenge while leaving room for learning, breaks and enjoyment. The goal is not to make every stage as technical as possible; it is to find terrain that fits your ability and the kind of holiday you want.
Safety and responsible riding in mountain communities
High Atlas tracks may be shared by residents, walkers, pack animals and other users. Slow down in and near villages, give people and animals plenty of space, follow your guide's instructions and avoid blocking paths. Be courteous when passing and do not assume a trail is reserved for cyclists simply because it appears on a route plan.
Stick to established routes and avoid shortcuts that can widen trails or damage fragile slopes. Carry out rubbish, respect private property and ask before photographing people. Local customs and daily routines vary from place to place; a respectful approach makes a cycling visit more considerate and often more rewarding.
Mountain weather, remoteness and changing trail surfaces all deserve respect. Before departure, agree on the group's pace, regrouping points and communication plan. Follow the guide's decisions about conditions, and be ready to change or shorten the route if weather, trail condition, a mechanical issue or rider fatigue makes the original plan unsuitable.
Frequently asked questions
Do all technical High Atlas routes require advanced skills?
No. Trail character varies by valley and route. Some itineraries combine easier tracks with a few more demanding sections, while others are designed around technical riding. Ask for a clear description of the surface, gradients, exposure, hike-a-bike sections and the expected riding standard before choosing.
What does a technical trail grade tell me?
A grade is a guide, not a complete description. It should be considered alongside loose or embedded rock, steepness, narrowness, exposure, surface conditions and the consequences of a mistake. Ask the organiser how they describe difficulty and whether they can share specific examples of the terrain.
Should I ride every technical section?
No. Walking a feature is a sensible decision whenever you feel uncertain, tired or unable to assess the line safely. A good ride is about sound judgement and an enjoyable day, not proving that every obstacle can be ridden.
What bike is suitable for technical mountain trails?
The right bike depends on the route, your preferences and the terrain. Before travelling, confirm what bikes are available, whether the geometry and suspension suit the planned riding, what sizes can be supplied, and which repair spares and tools will be carried. A well-maintained and correctly fitted bike matters more than choosing equipment by label alone.
How can I prepare if I live somewhere without rocky trails?
Practise fundamental skills on terrain you can access: controlled braking, looking ahead, smooth cornering, riding over small uneven features and choosing a line at a comfortable speed. Add steady endurance rides and strength work appropriate to your current fitness. Build gradually rather than trying difficult features before your fundamentals feel reliable.
Can a guide adapt the route to our group's ability?
You can discuss route options around the group's experience, confidence, fitness and preferred daily effort. Make sure the organiser understands the abilities of the least experienced rider and confirms what alternatives are realistic for the planned day and conditions.